Why Grout Gets Dingy
Grout is the unsung hero of any tiled surface, holding the tiles together and preventing moisture from sneaking behind them. Over time, however, it absorbs spills, soap scum, and everyday dirt. Even the toughest cleaning products can leave it looking dull, gray, or even yellowed. When the grout starts to look tired, the whole room can feel dated, even if the tiles themselves are still in great shape. The good news is that you don’t need a pricey commercial cleaner or a professional to bring those lines back to life. A simple pantry mix can work wonders in just a few minutes.
The Magic Pantry Mix
All you need are three kitchen staples that most households already have: baking soda, white vinegar, and a few drops of dish soap. Baking soda acts as a gentle abrasive that lifts grime without scratching the grout. White vinegar, a mild acid, breaks down mineral deposits and stains. The dish soap helps to cut through greasy residue and creates a foamy texture that penetrates the grout pores. When combined, these ingredients form a powerful yet safe cleaning solution that revives the color of grout almost instantly.

Step‑by‑Step Application
- Mix the ingredients – In a small bowl, combine two tablespoons of baking soda with a cup of warm water. Stir until you have a thick paste. Add one teaspoon of white vinegar; the mixture will fizz slightly—this is normal. Finally, add a few drops of liquid dish soap and mix gently.
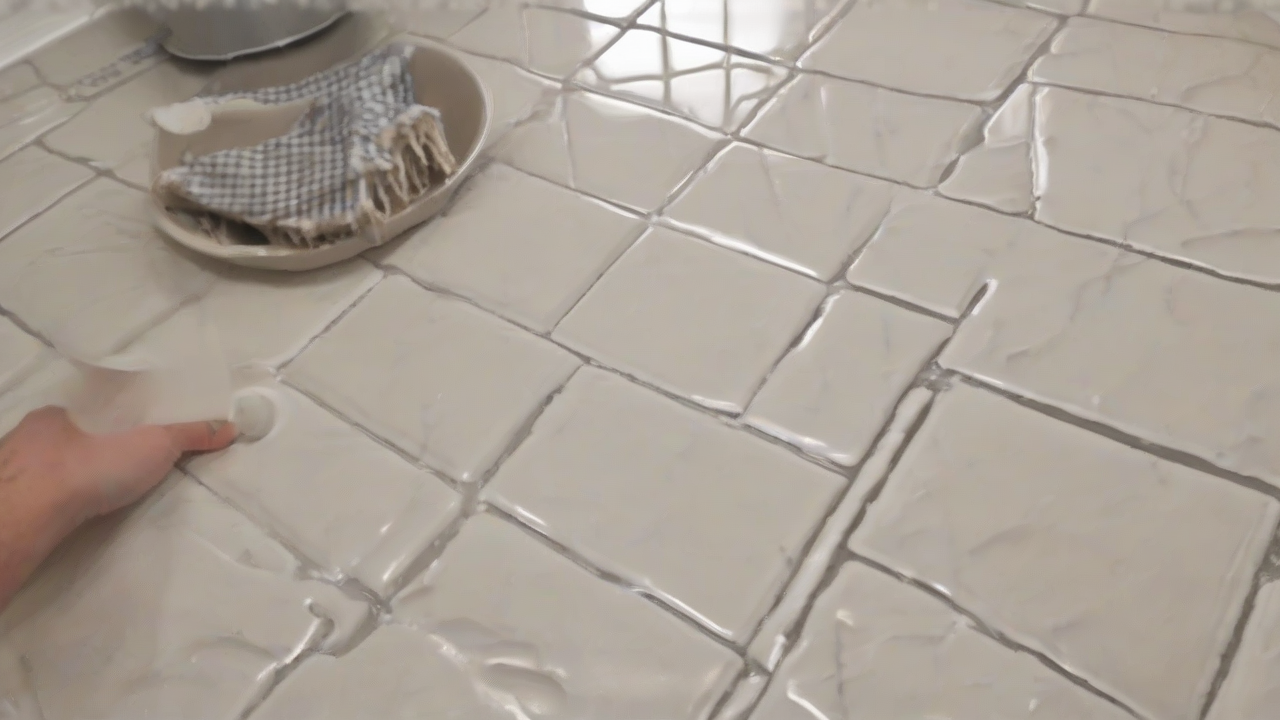
- Apply the paste – Using an old toothbrush or a soft grout brush, dip it into the paste and spread it over the grout lines. Work in small sections so the paste doesn’t dry before you scrub.
- Let it work – Allow the mixture to sit for about two minutes. During this time, the vinegar loosens stubborn stains while the baking soda lifts them away.
- Scrub lightly – With the same brush, scrub each grout line in a circular motion. You’ll see the dull gray lift away, revealing a fresher, lighter shade.
- Rinse and dry – Wipe the area with a clean, damp cloth to remove any residue. Follow up with a dry towel or let it air‑dry. In under five minutes, the grout looks noticeably brighter—often as clean as when it was first installed.
Tips for Long‑Lasting Shine
- Seal once a month – After the grout is clean and dry, apply a thin layer of grout sealer. This creates a barrier against future stains and reduces the need for heavy scrubbing.
- Spot clean regularly – Keep a spray bottle of diluted vinegar (1 part vinegar to 3 parts water) handy for quick touch‑ups. Spritz, wait a minute, then wipe away.
- Avoid harsh chemicals – Stick to the pantry mix for routine maintenance; aggressive bleach or ammonia can erode the grout over time.
- Test a hidden spot – Although the ingredients are safe, it’s wise to try the mixture on a small, inconspicuous area first, especially if your tiles are natural stone.
With just a few pantry items, you can transform tired grout back to its original brightness in minutes. The next time you glance at your kitchen or bathroom floor, you’ll notice how a little DIY effort can make the whole space feel fresh, clean, and brand‑new again. Happy cleaning!